Emulating Horse Games on Windows XP Walkthrough
Written on August 3rd , 2025 by Caitlin Allen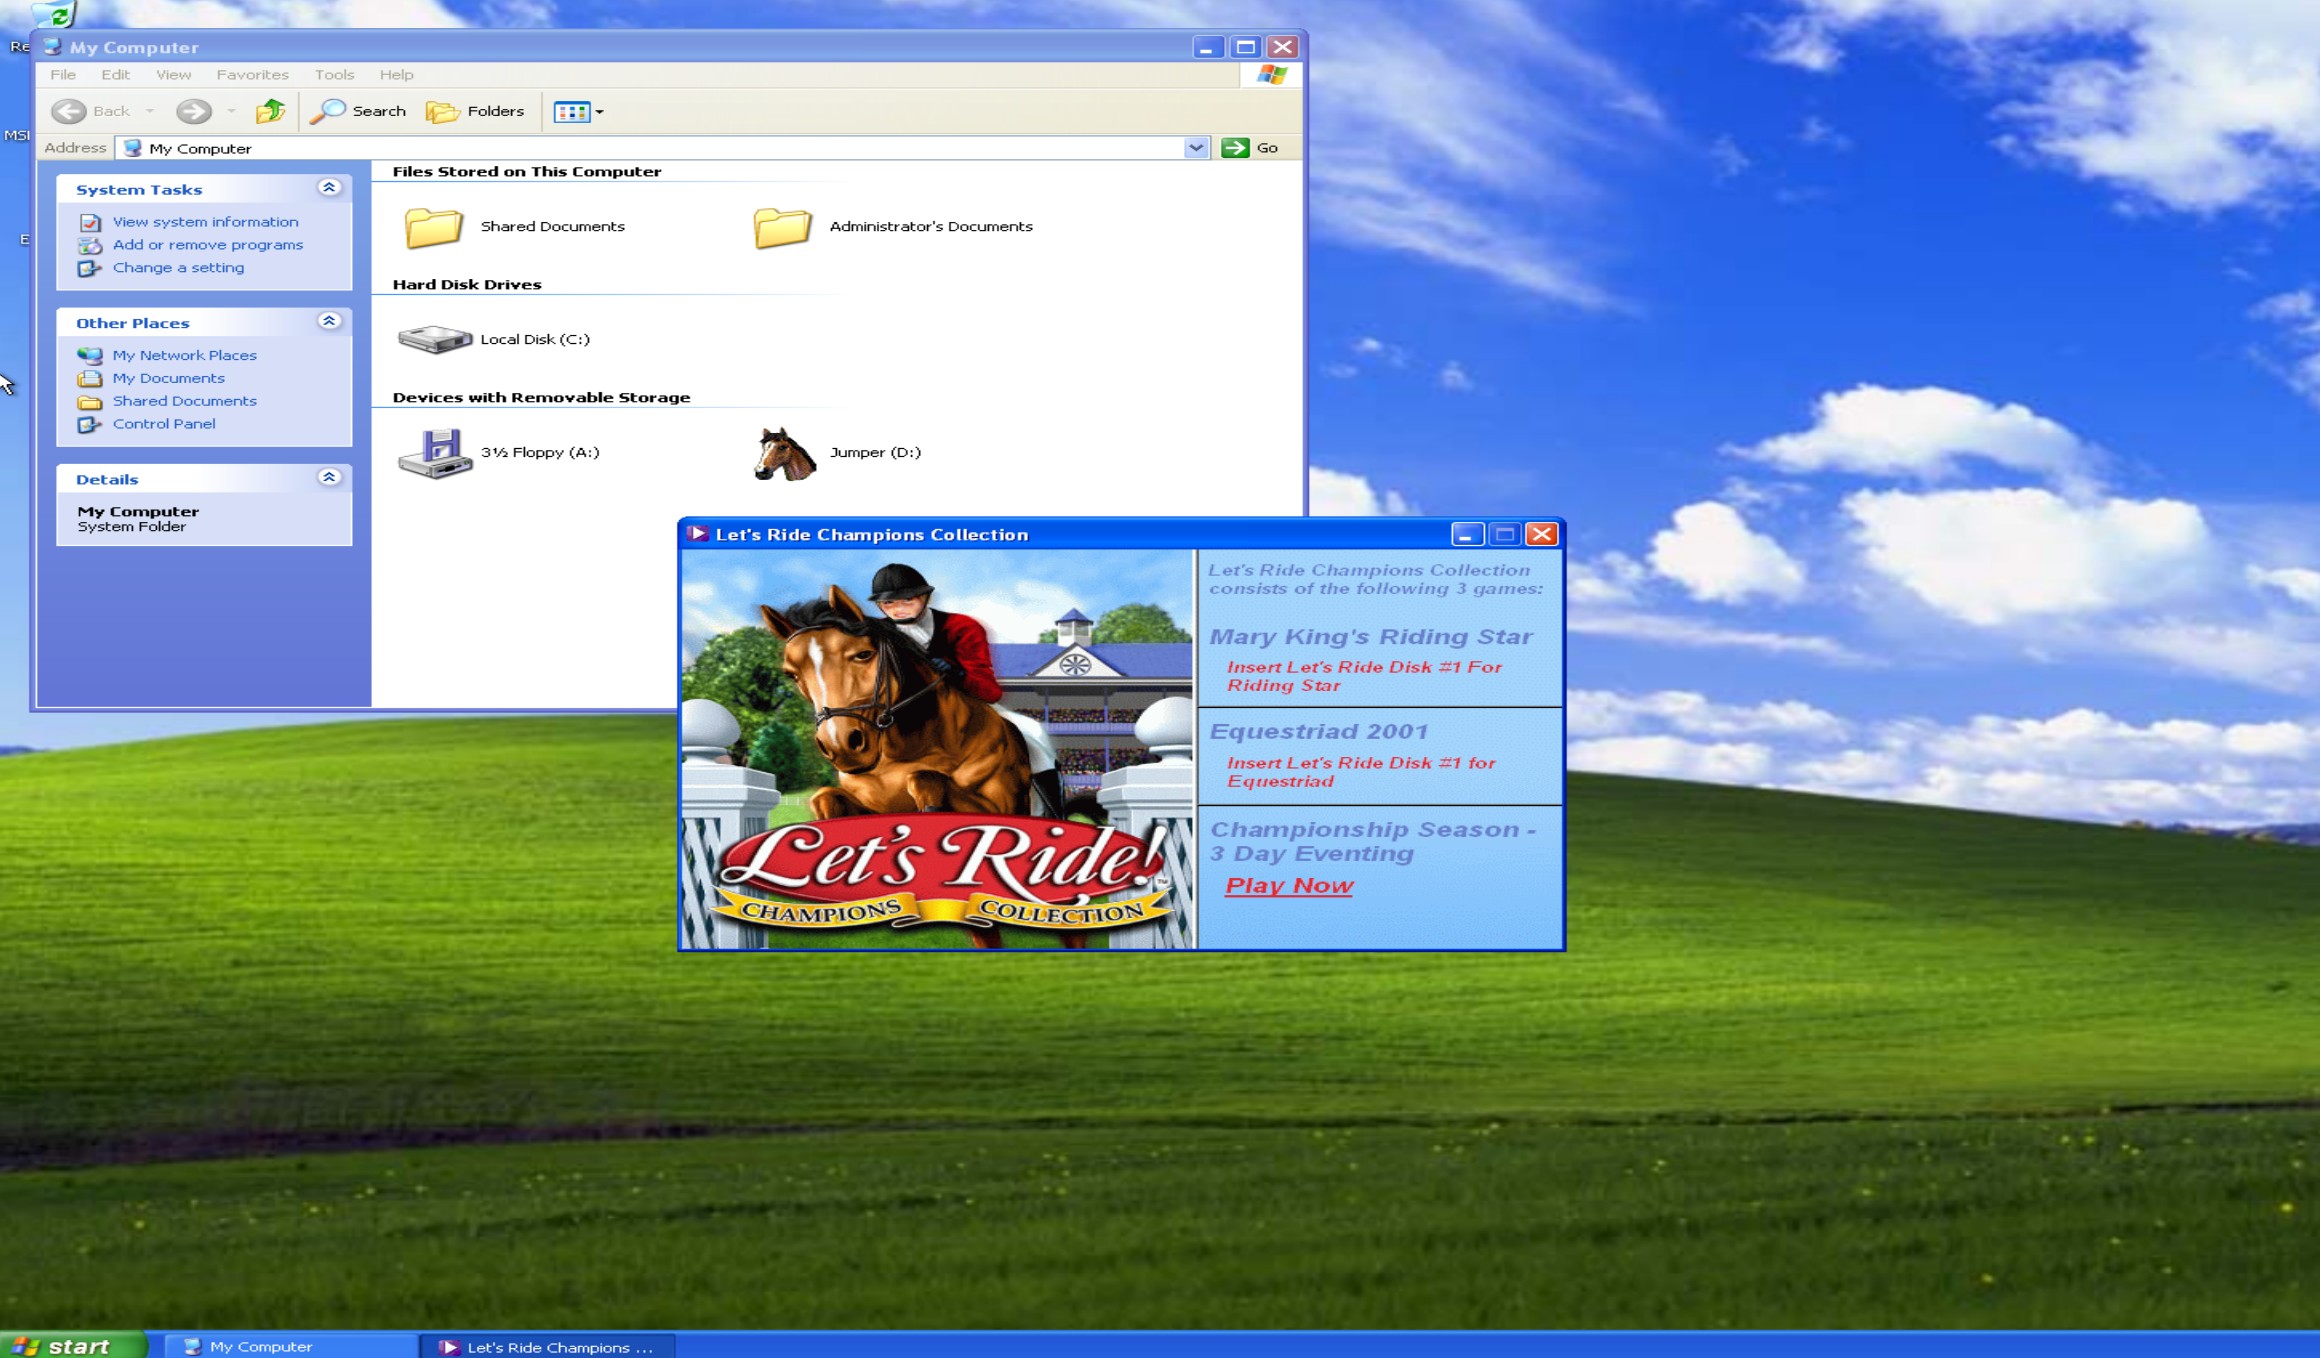
First time posting something in four years!
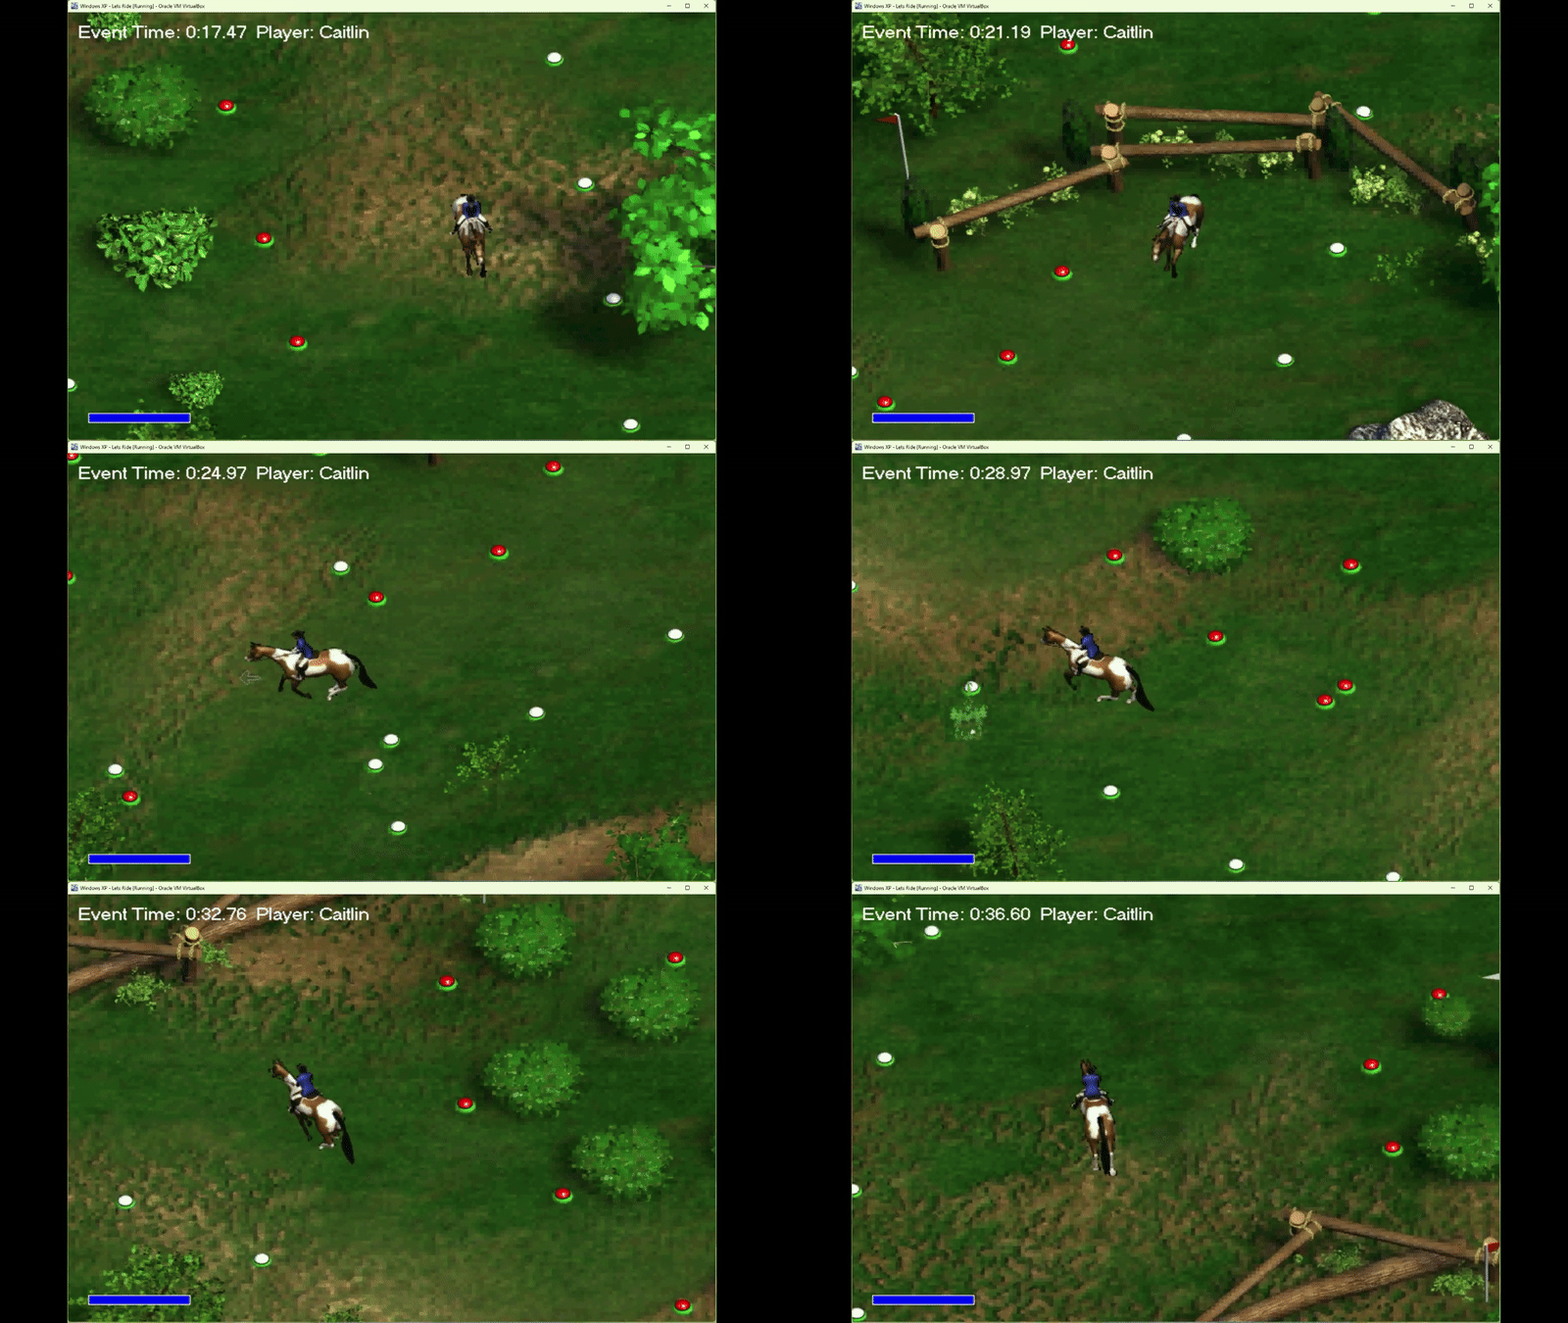
About a year ago, I was trying to remember this specific horse game I played growing up. It was the ‘Let’s Ride Champion Seasons’ game, and not a whole lot seemed to exist on the Internet about it. I eventually found a YouTube channel that had posted some of the game and said they were emulating it and found the files on Internet Archive!
I posted an Instagram story once I set up my own Let’s Ride game in a Windows XP VM. Pretty quickly, I got a few requests for how I did this. I know a lot of people who had asked don’t work in tech or are not familiar with how to use VirtualBox. This guide is made to be accessible for all those who want to play their childhood horse game, whether or not they’ve ever even touched a VM.
How Does This Work?
To give a TL;DR, you’ll be running another computer on your physical computer. This is done using a virtual machine, or VM for short. If you want to read a little bit more about what a VM is, VMware has a page with an overview.
Rather than using a physical CD-ROM, we’ll be using an Optical Disc Image, or ISO. This contains everything that would be on a physical disc, but it is now just a file on your computer. Lenovo has a brief overview about ISOs for those wanting to learn more.
What You’ll Need
- Oracle VirtualBox - download here and choose the package for your operating system
- Windows XP ISO – download here
- Let’s Ride ISO – In the bottom right corner where it says ‘ISO Image Files’, download Disc 2 or use this direct download of the file
Setting up your VM
Once you’ve installed VirtualBox, we’ll be able to get started with setting up Windows XP.
At the top of the window, you’ll see a few options such as New and Add. Click on the ‘New’ blue sun(?) to open up the set up wizard.

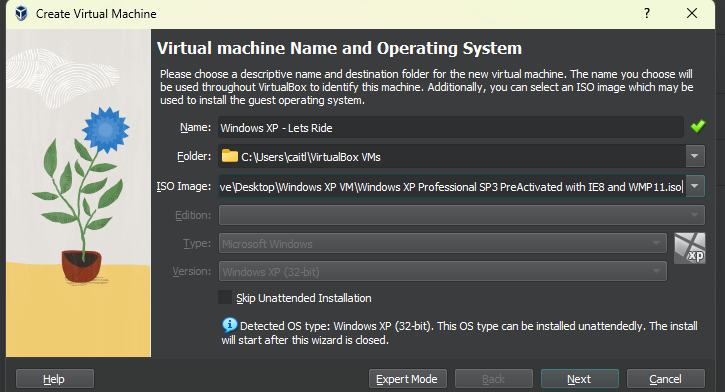
You’ll need to name your VM, choose where it’ll live on your computer, and upload the ISO file. Choose your name, use the default folder or change it to a preferred place, and then upload the ISO file from your computer. I personally put it on my desktop in this instance, but I typically make a dedicated folder (on my desktop, but that’s a me thing) where the ISO can live.
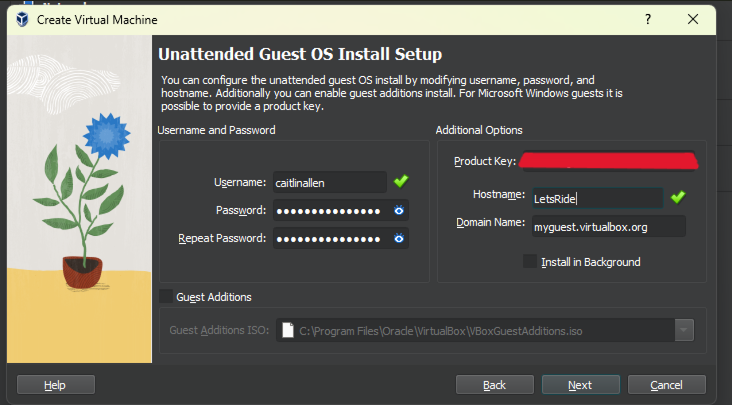
Set a username and password to use on your VM (you’ll be logged in automatically to an Admin account so this doesn’t exactly matter). You can enter a product key (they’ll be floating around online, but you can use XP without it), and a hostname. The hostname is a name for your VM.
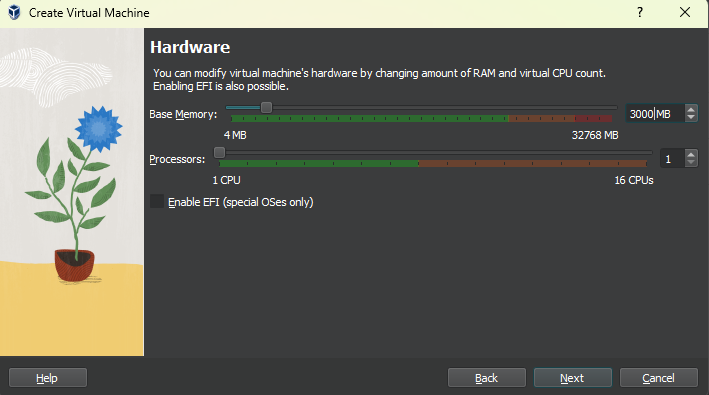
You will have to now allocate resources to the VM so it actually can run. Since this is Windows XP, it does not need a ton of memory. I chose about 3GB since the VM became unstable when I started to bump it higher. One processor is also fine.
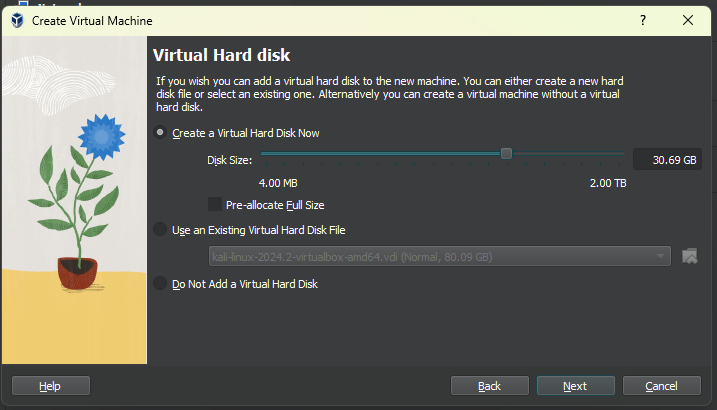
Next up is allocating actual space for the VM. I chose 30GB, but this is pretty overkill considering the ISO file is only 580mb.
The set-up wizard will now display a summary of your configurations.

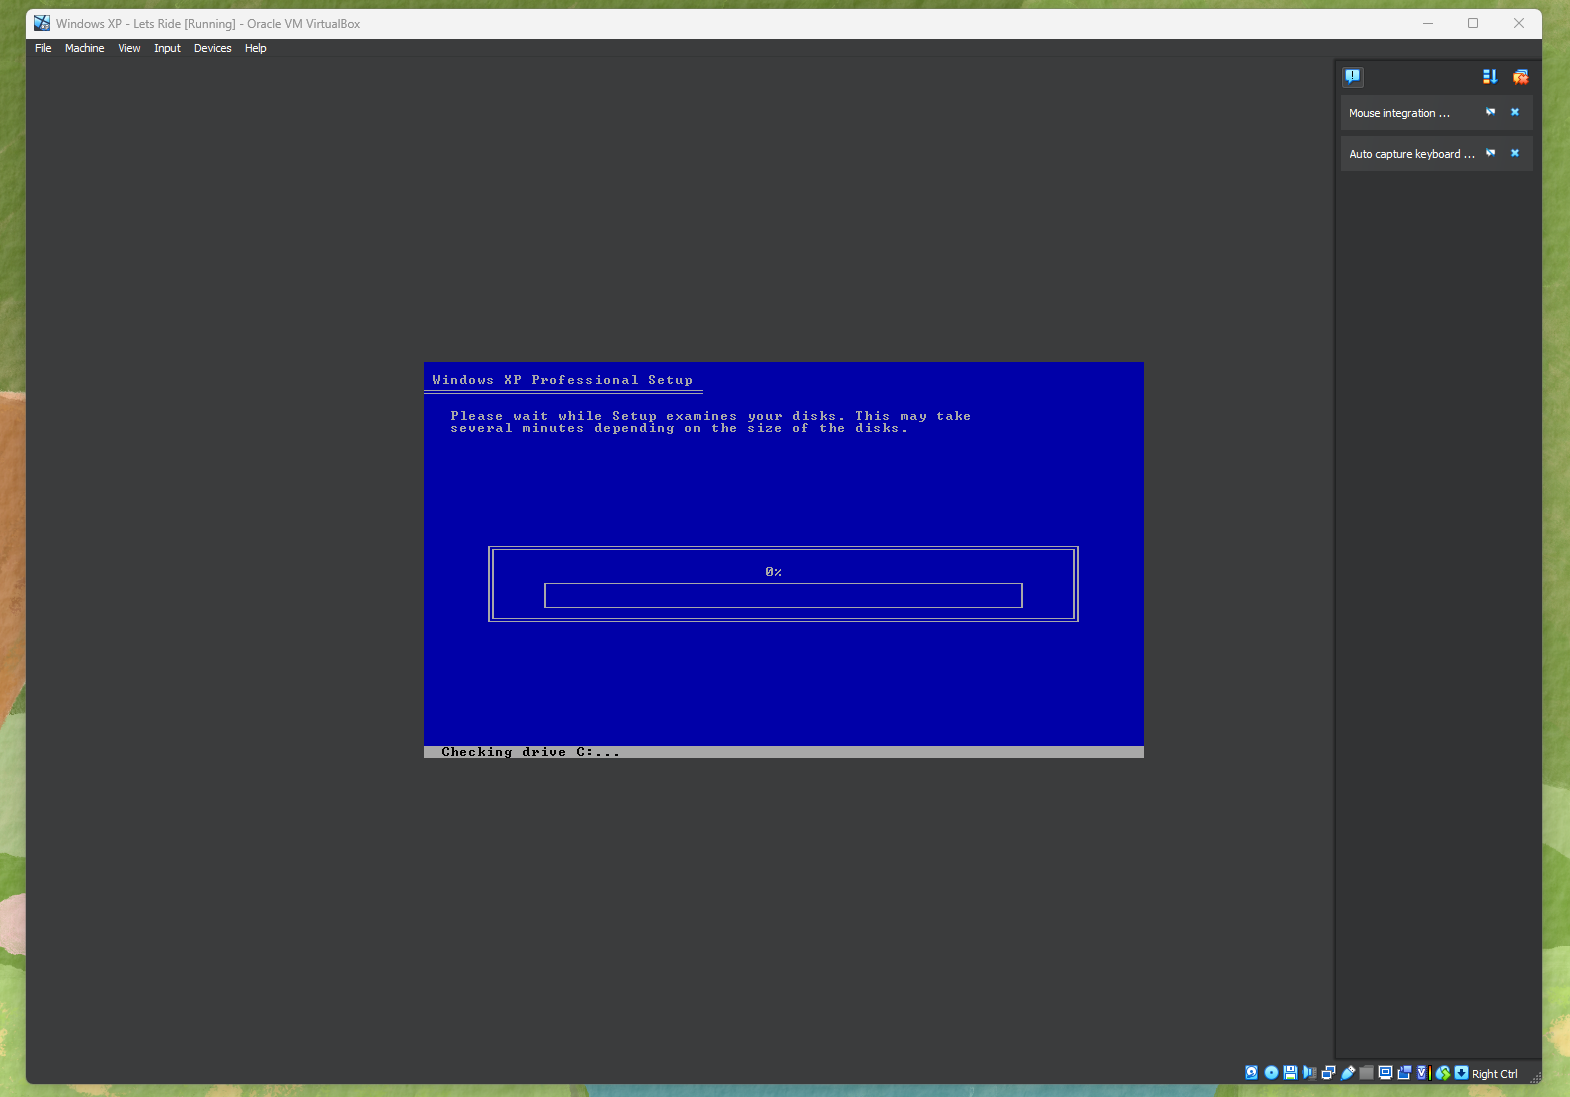
Revisit that top menu bar and choose the Start green arrow. Your VM will power up and pop open a new window. You’ll see this blue screen while it starts to boot up the new operating system.
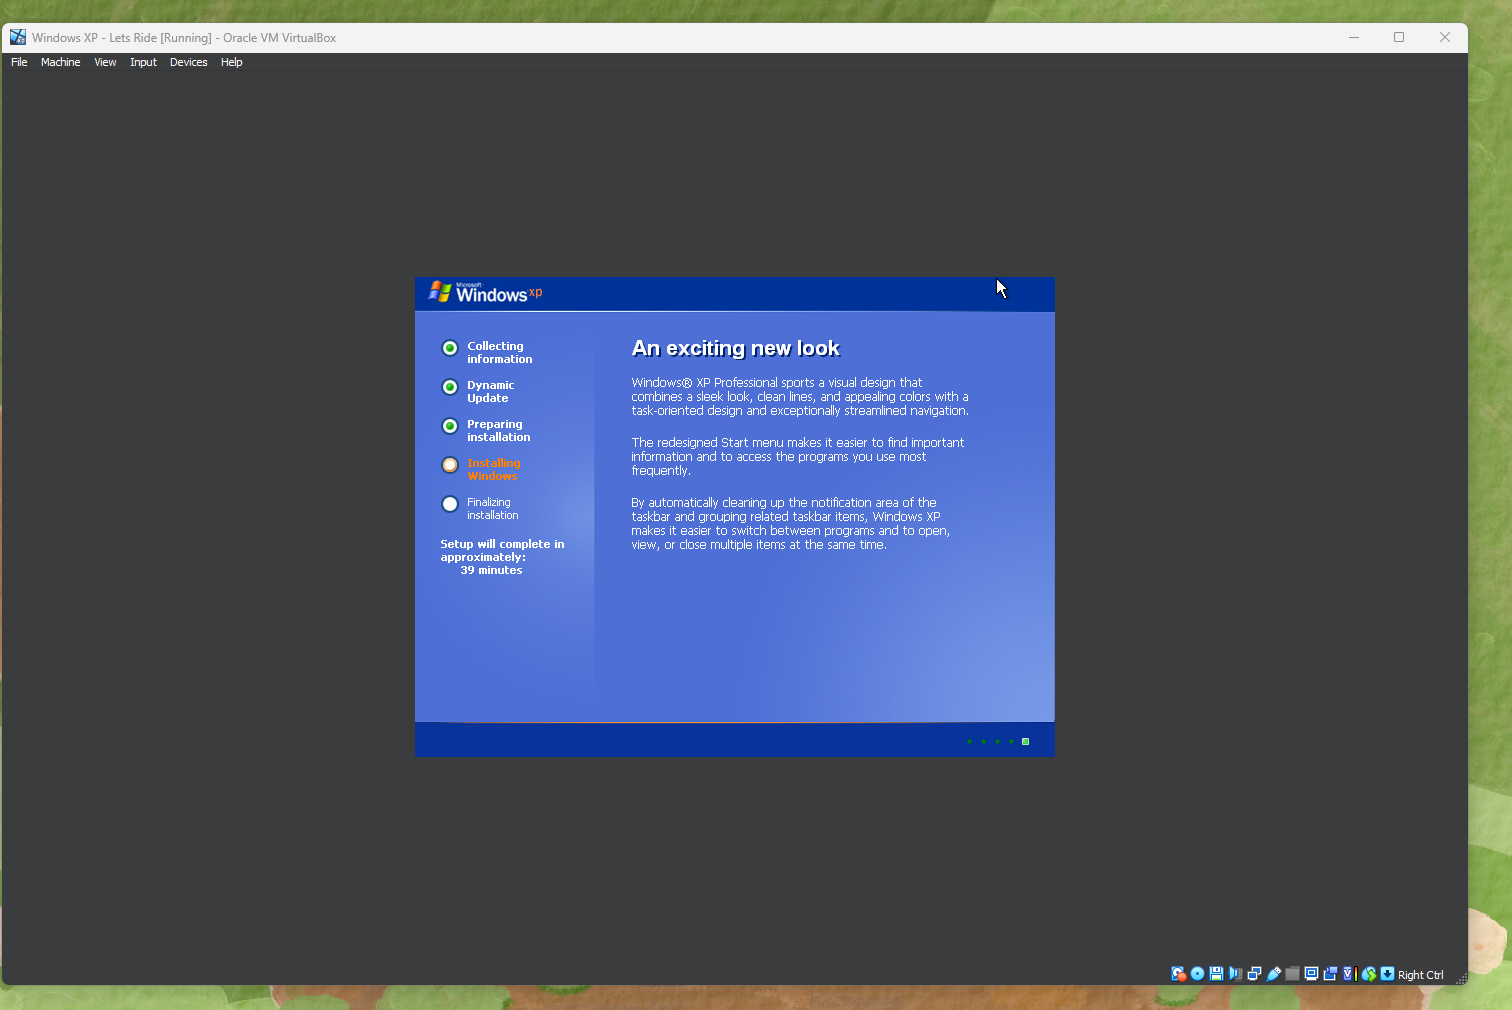
The next Window will say it should take 40ish minutes to set up XP. It shouldn’t take more than a few minutes (if it does, stop the VM and restart.)
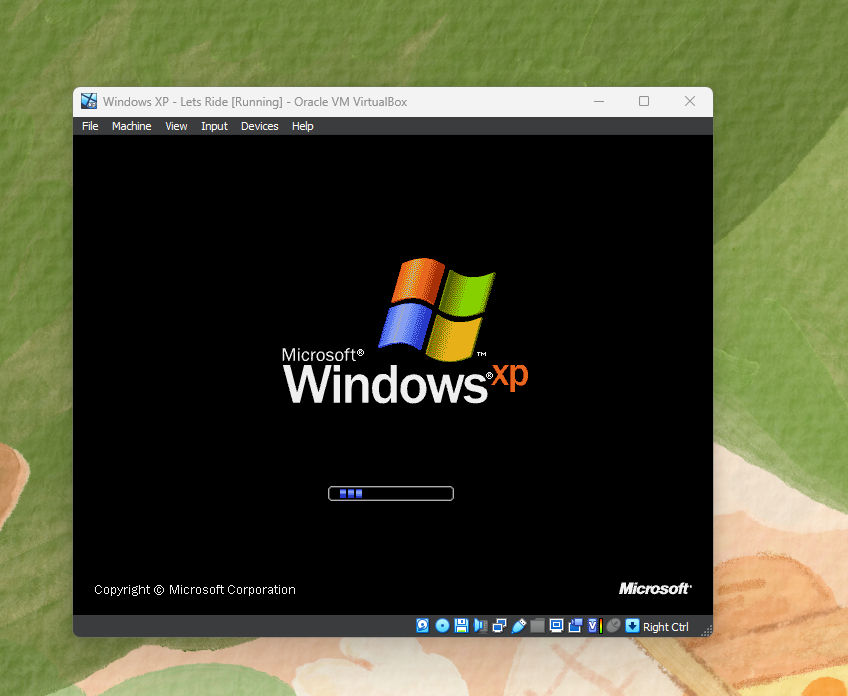
Once the operating system is ready to go, you’ll see this iconic screen and XP letting you know its applying your personal settings!
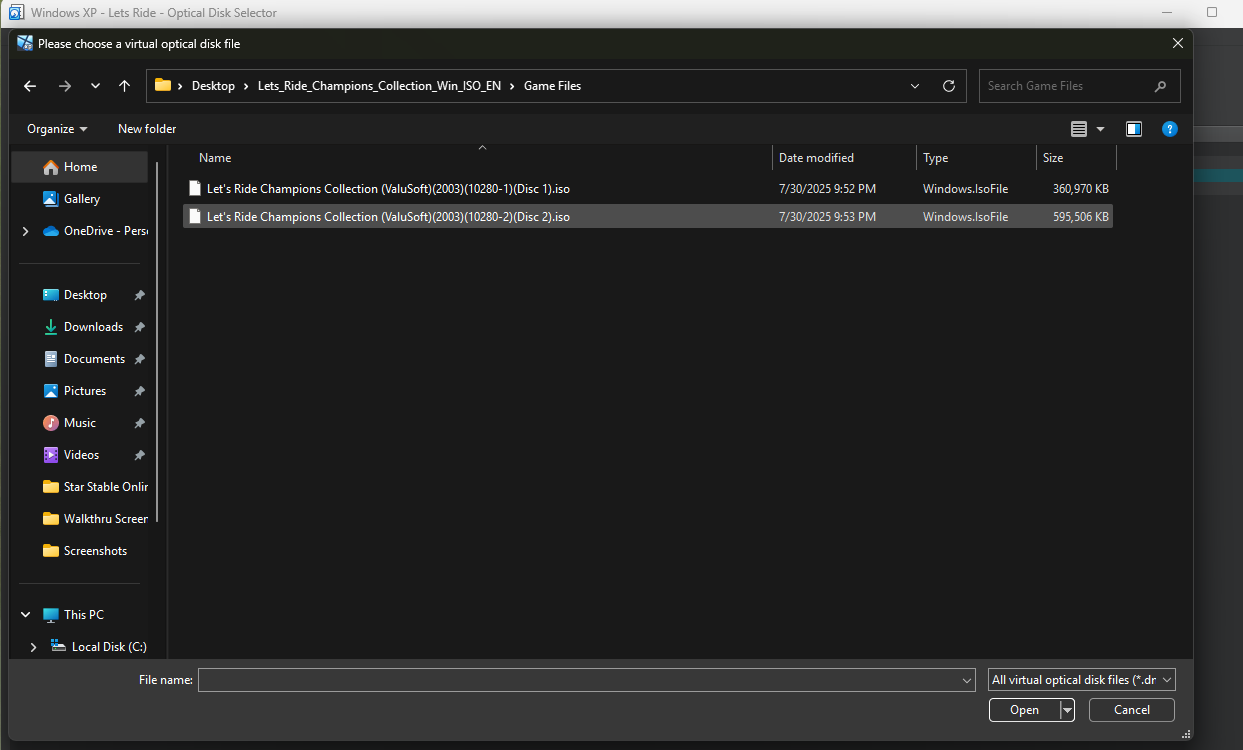
Before you fret about the screen size, we’ll load the game file into the computer. In the top menu, click Device > Choose/Create a Disk Image

Navigate to where your game file is and remember to choose Disc 2, since this is the game file with the Farnam Three Day eventing game. Once selected, click Open.
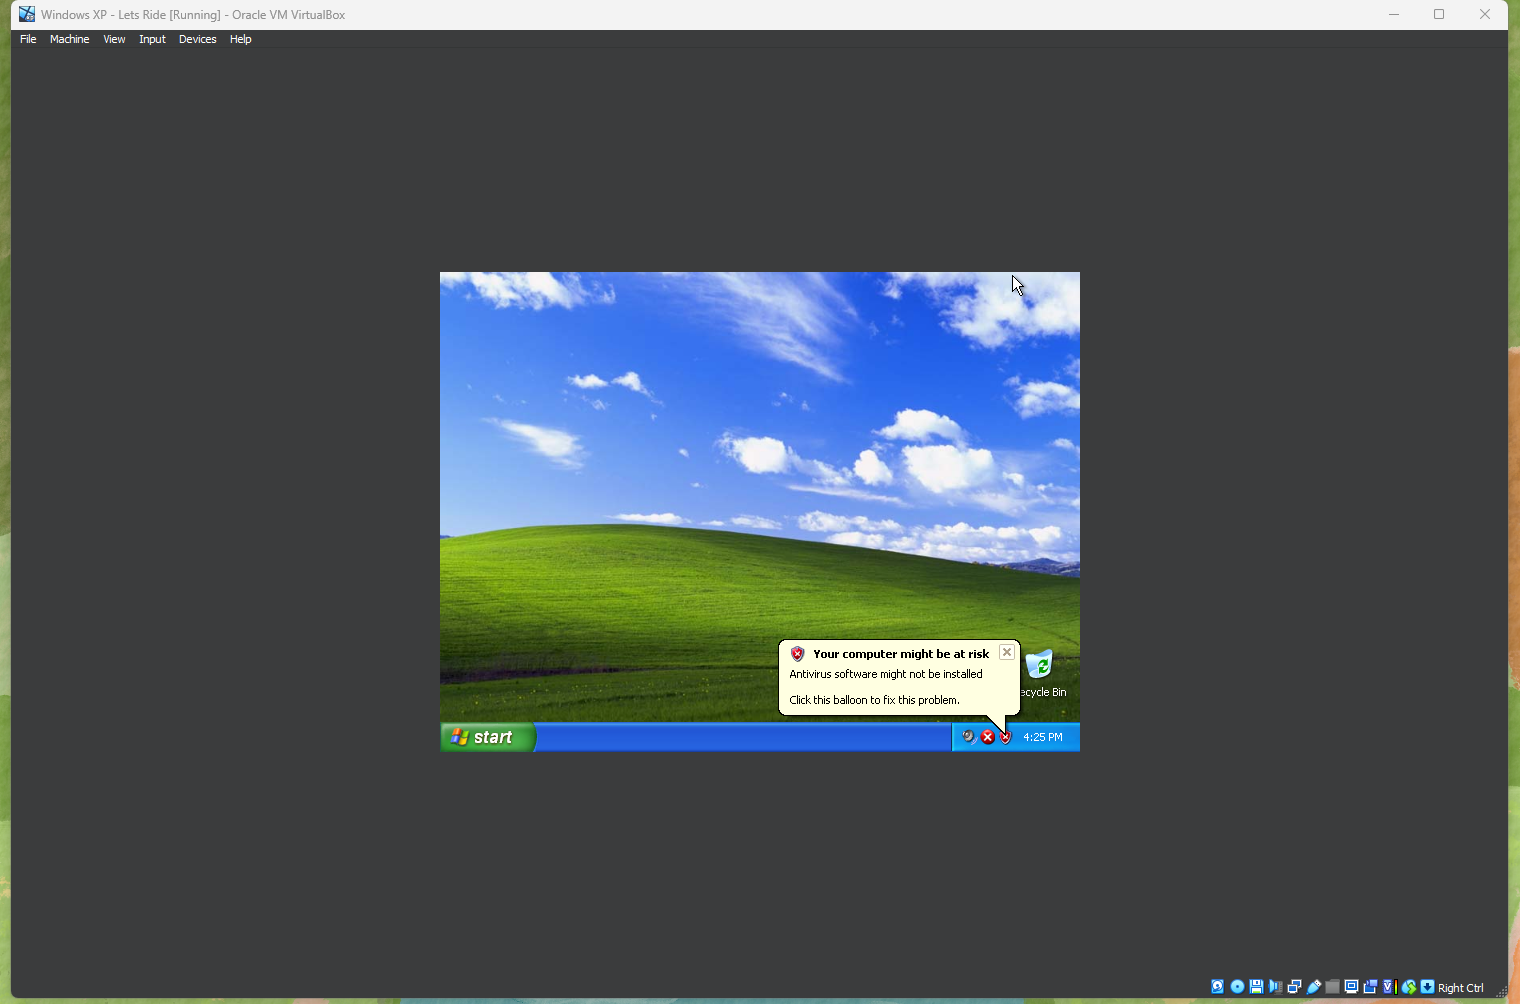
Now that you’re set, lets go over how to make your display a bit bigger.
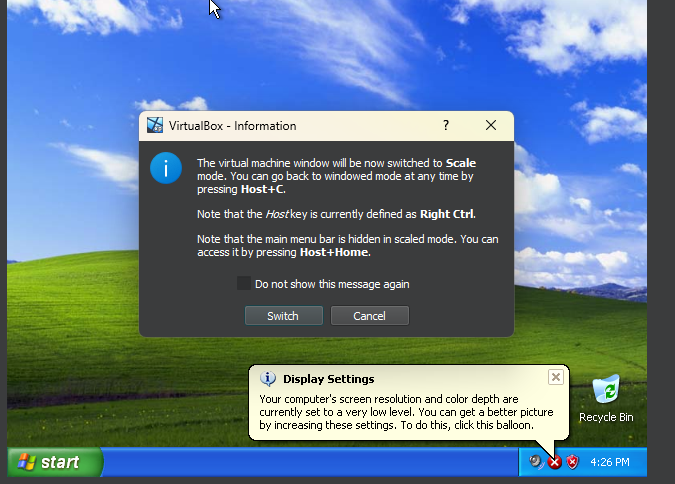
In the top menu bar, go to View > Scaled Mode

You should get a pop up letting you know about the host key. This will be the Right Control key. I have two monitors, so I just bring my cursor over to my other monitor and click. But for those who only have one monitor, you’ll want to remember the host key.
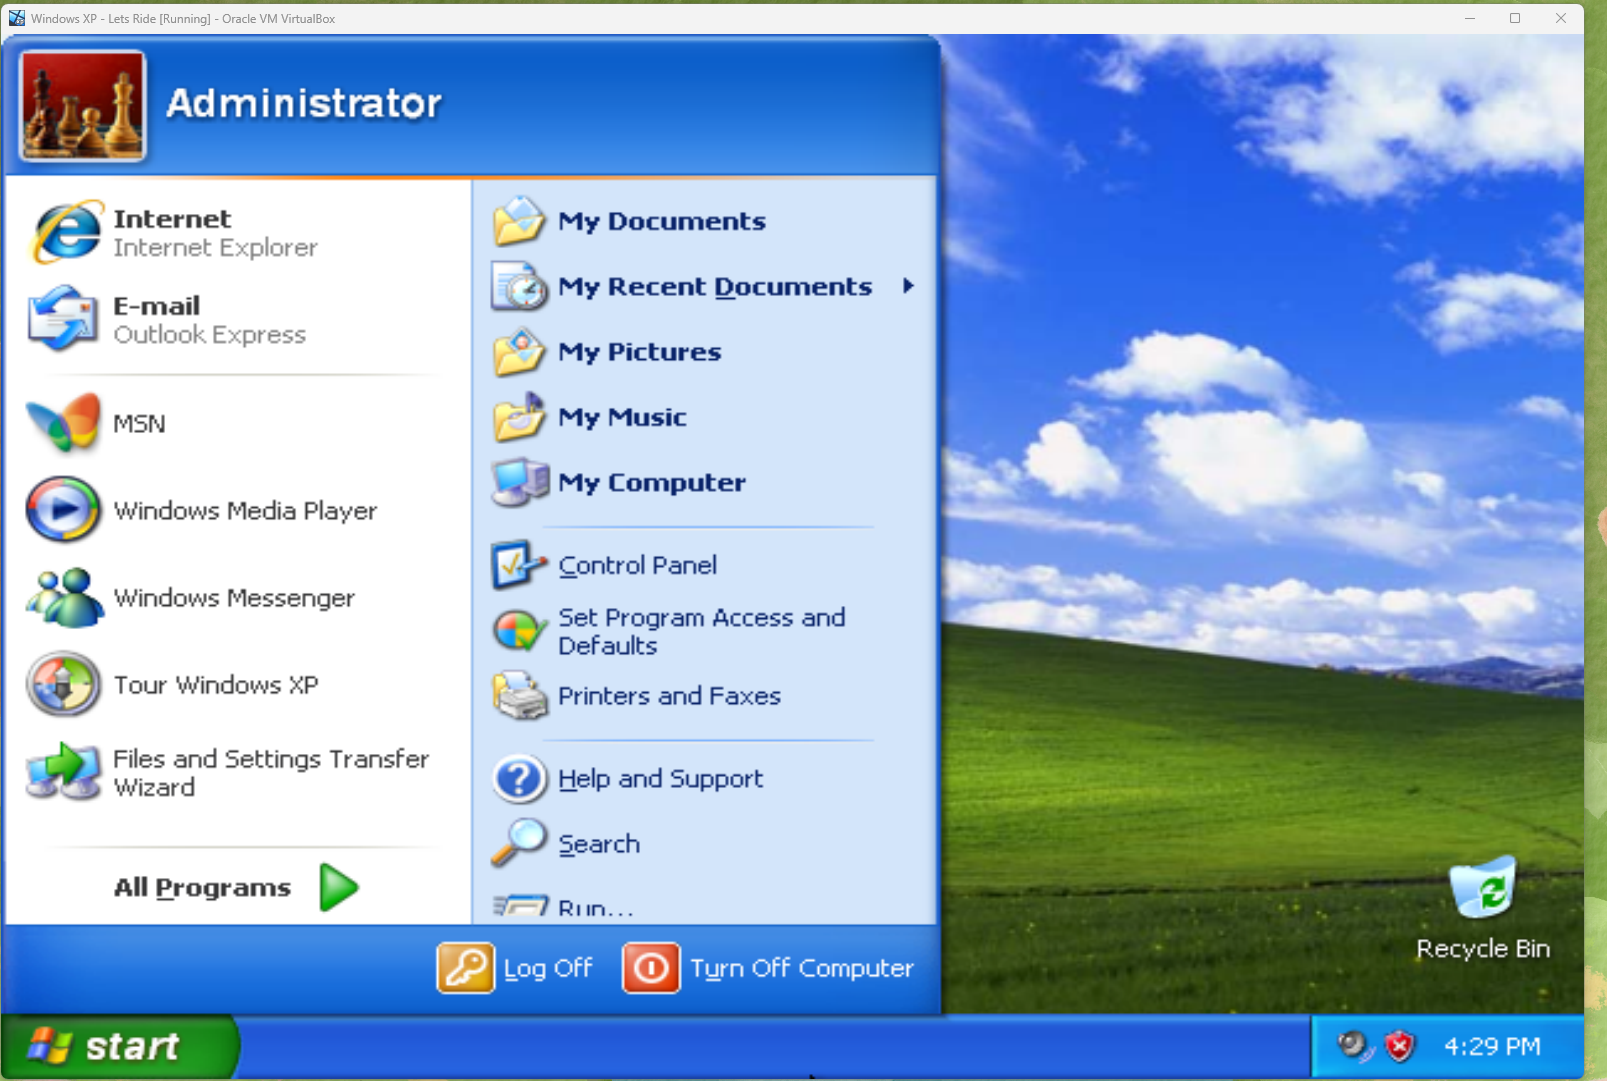
In the start menu, click on My Computer
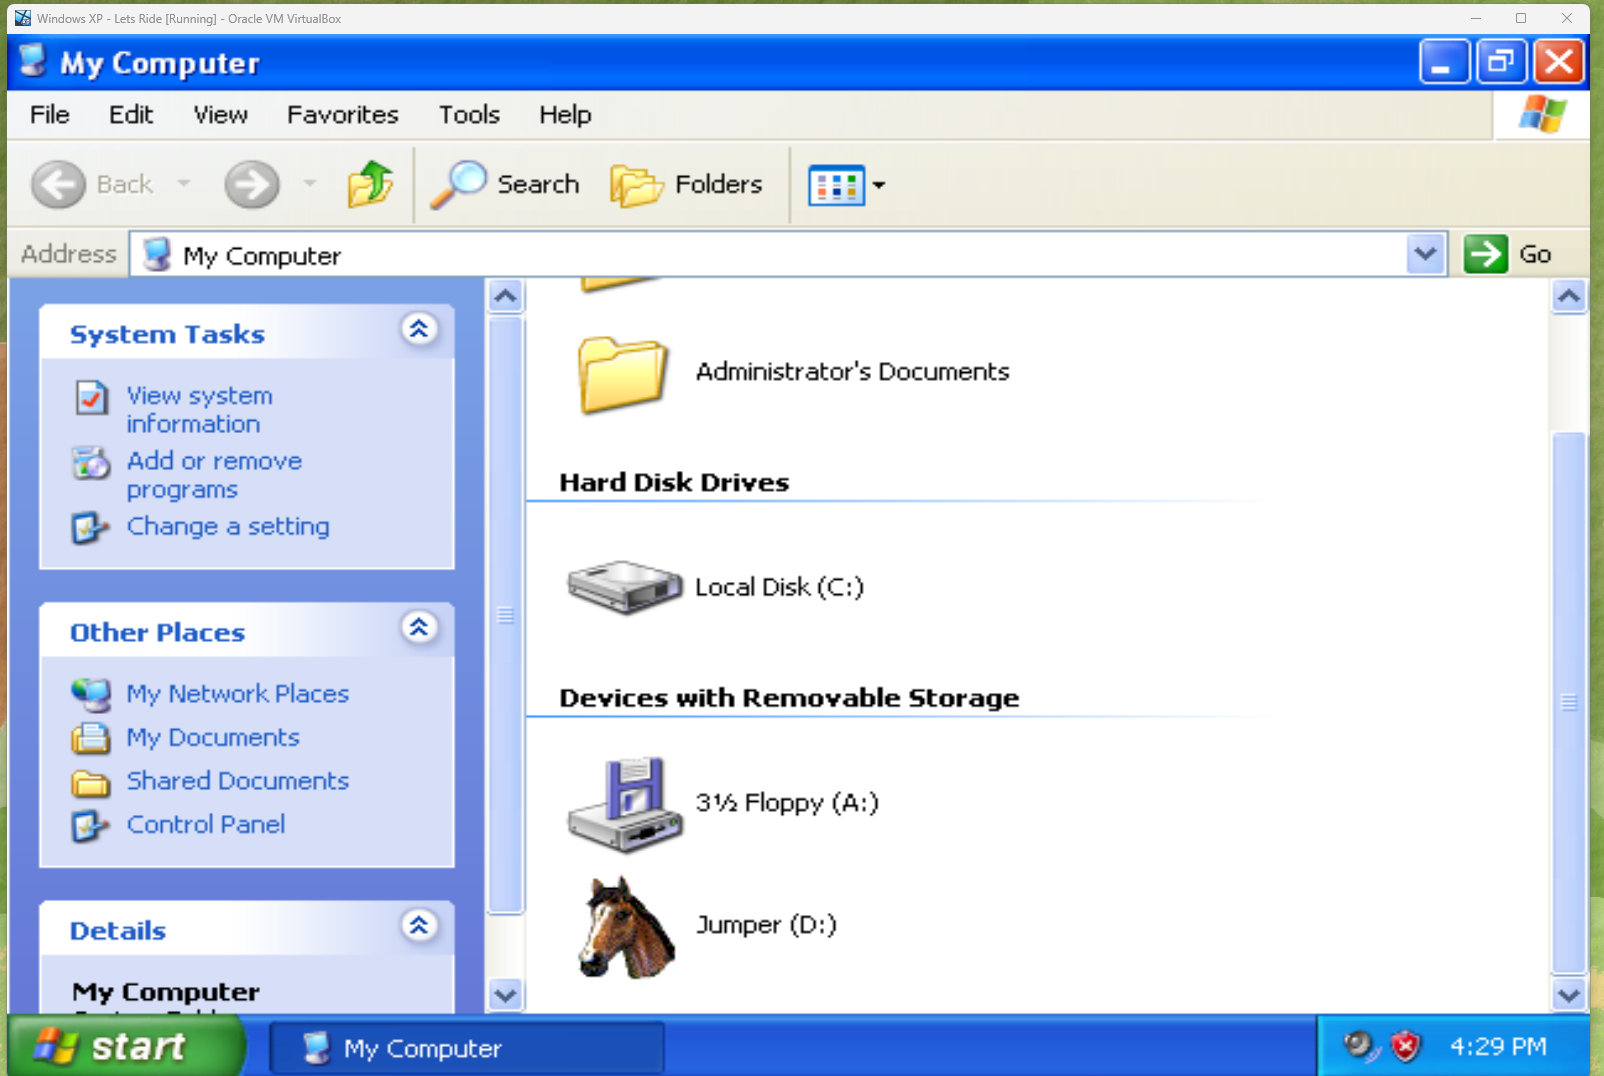
You should now see that there is a drive called Jumper (D:) in the Devices with Removable Storage section! Double click and we’ll install the game!
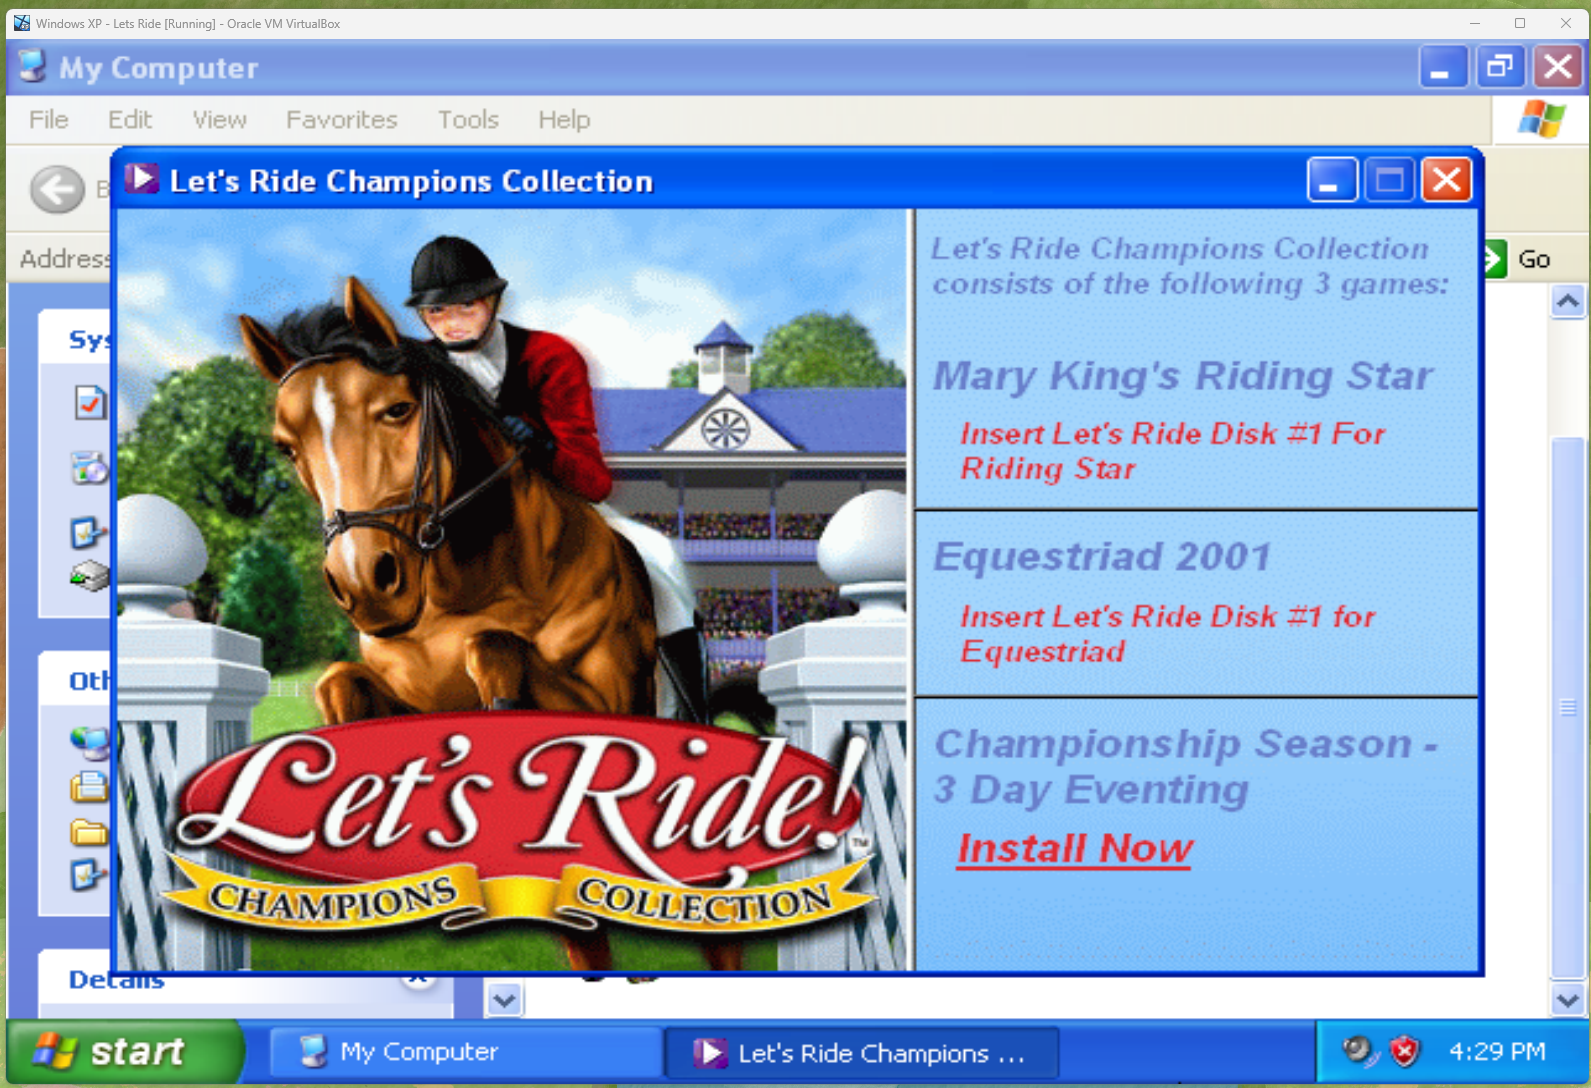
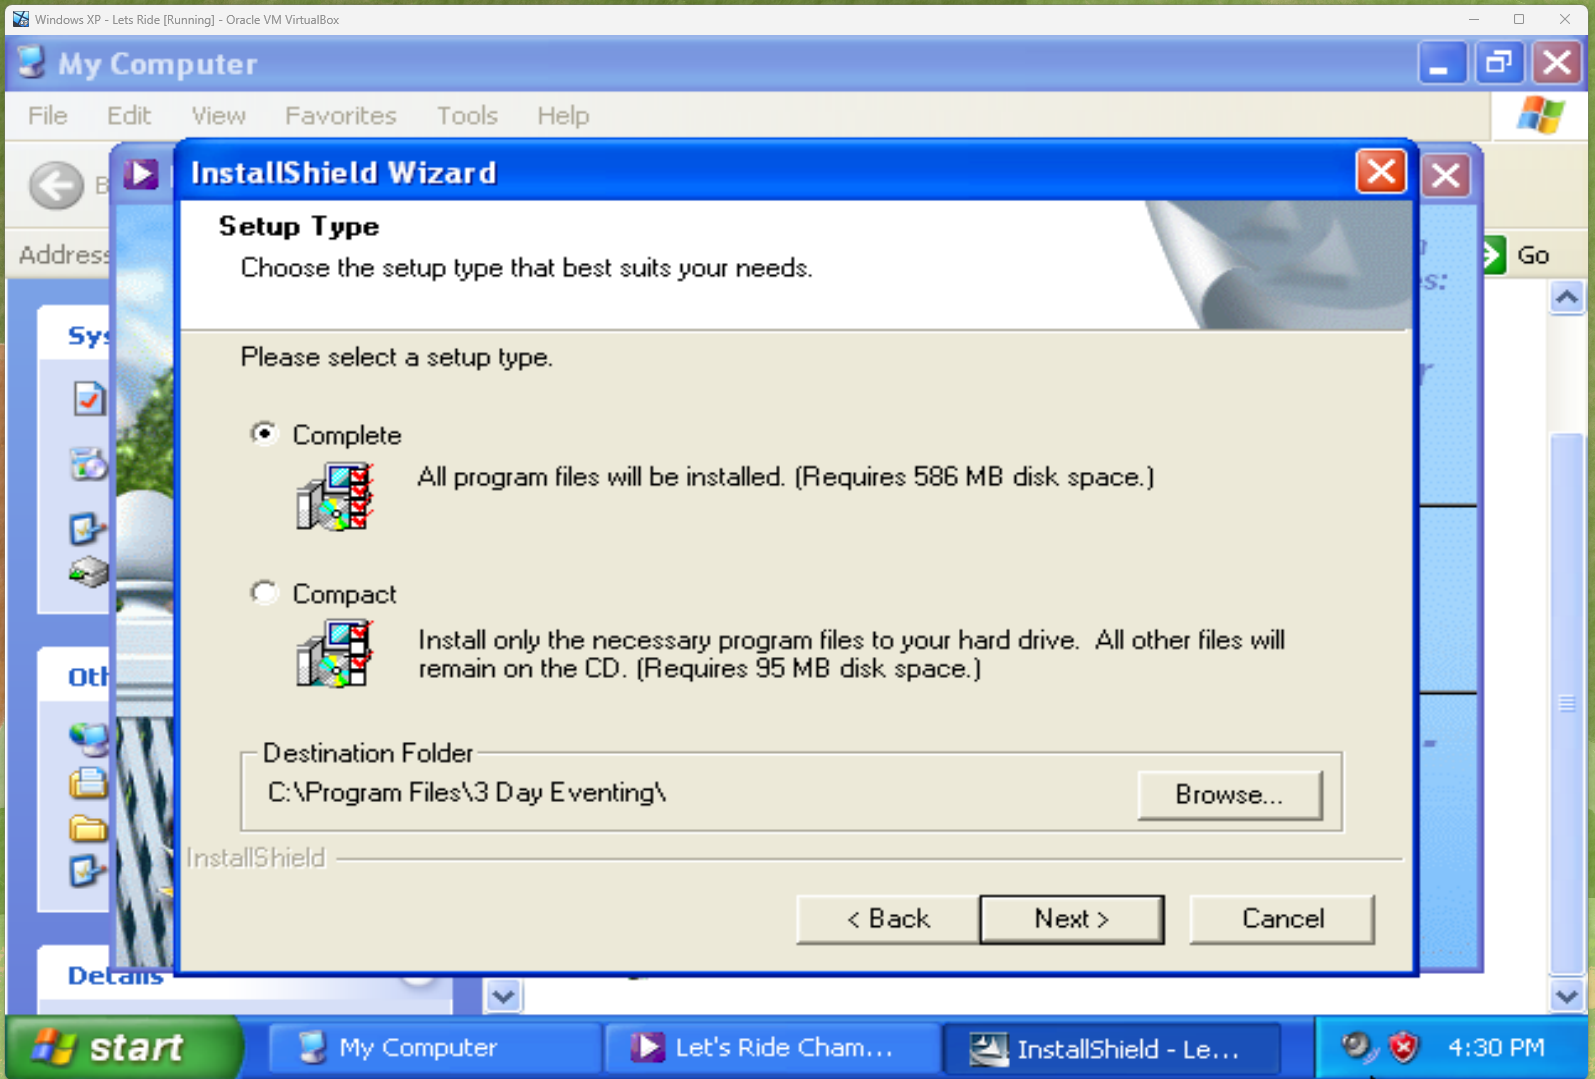
Click Install Now and go through the install wizard. You can leave the default settings and just click Next.
Click Yes when you get the DirectX 8 pop-up.
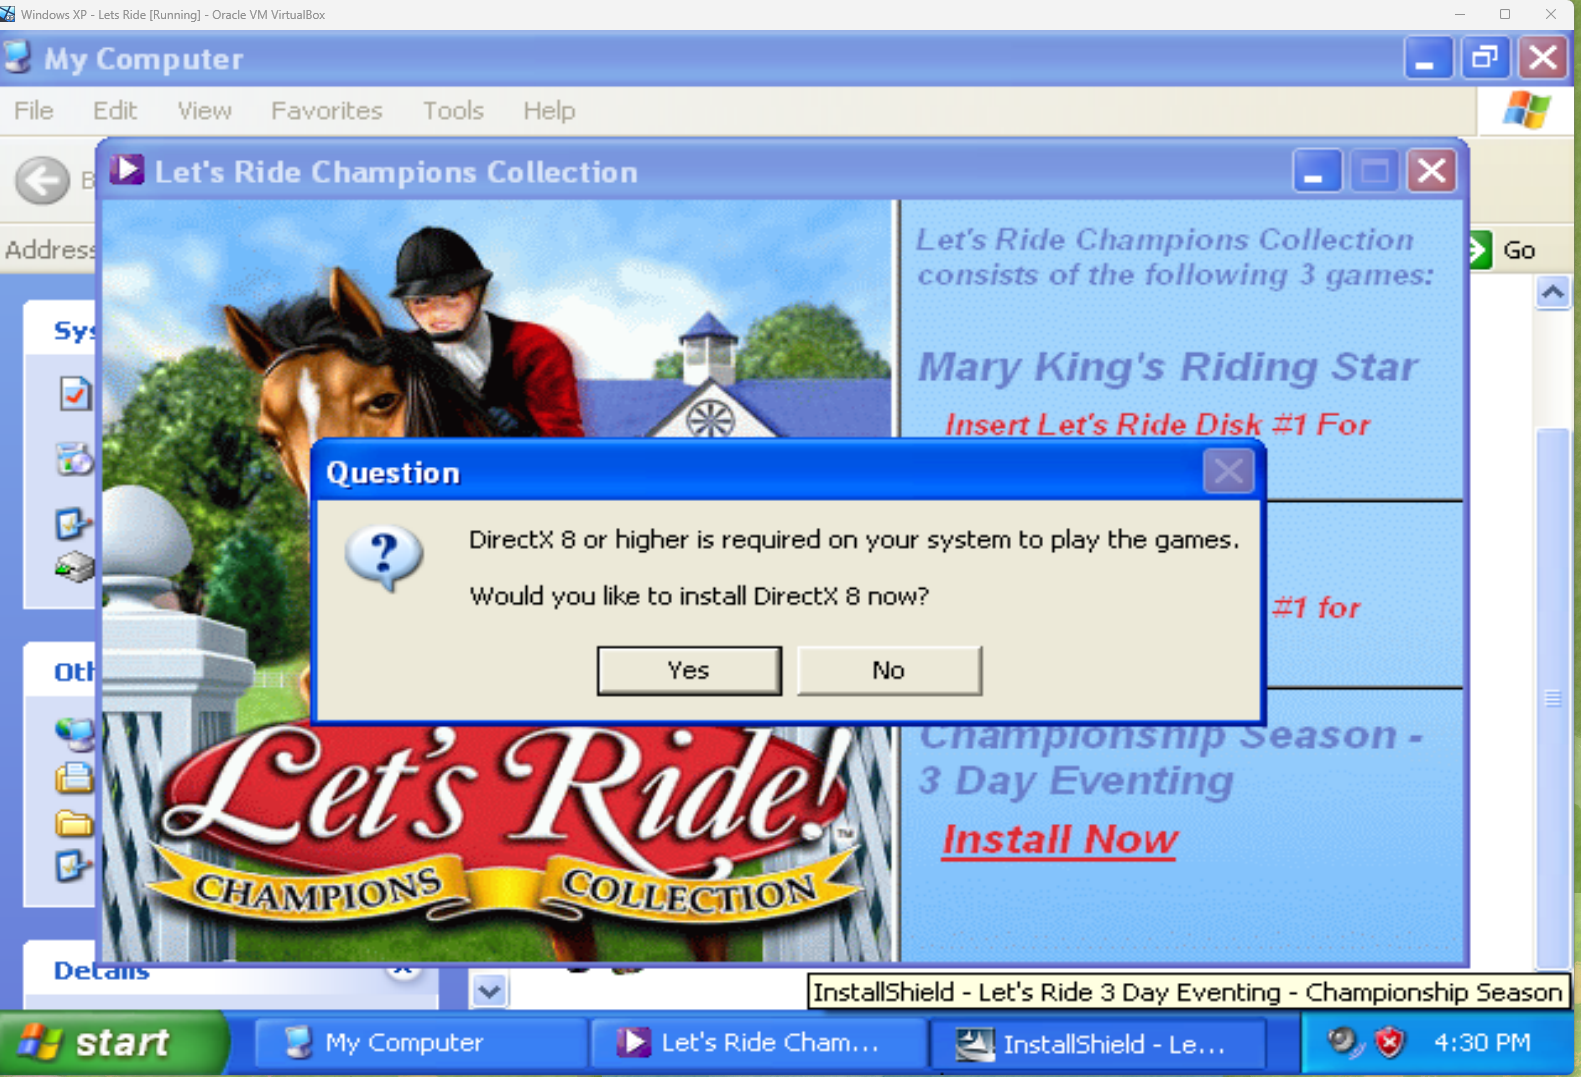
The time has come, click Play Now!
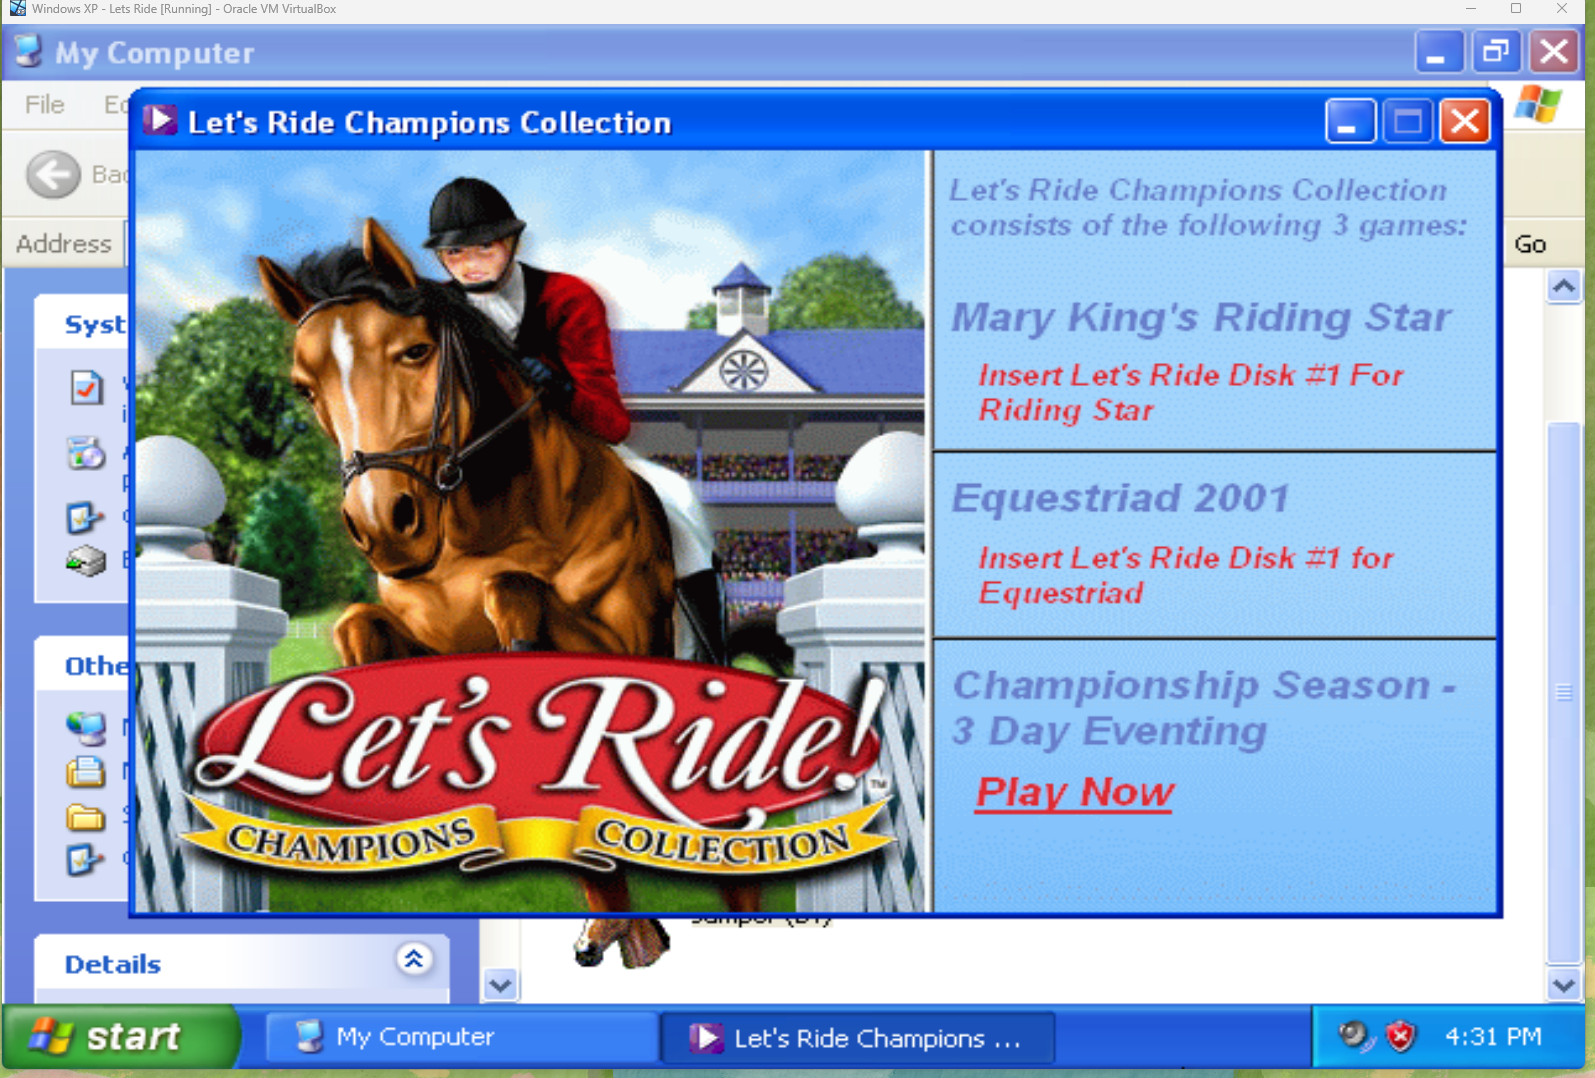
I was so freaking excited to finally get this set up and I’m so happy to share the knowledge with other horsey folks!
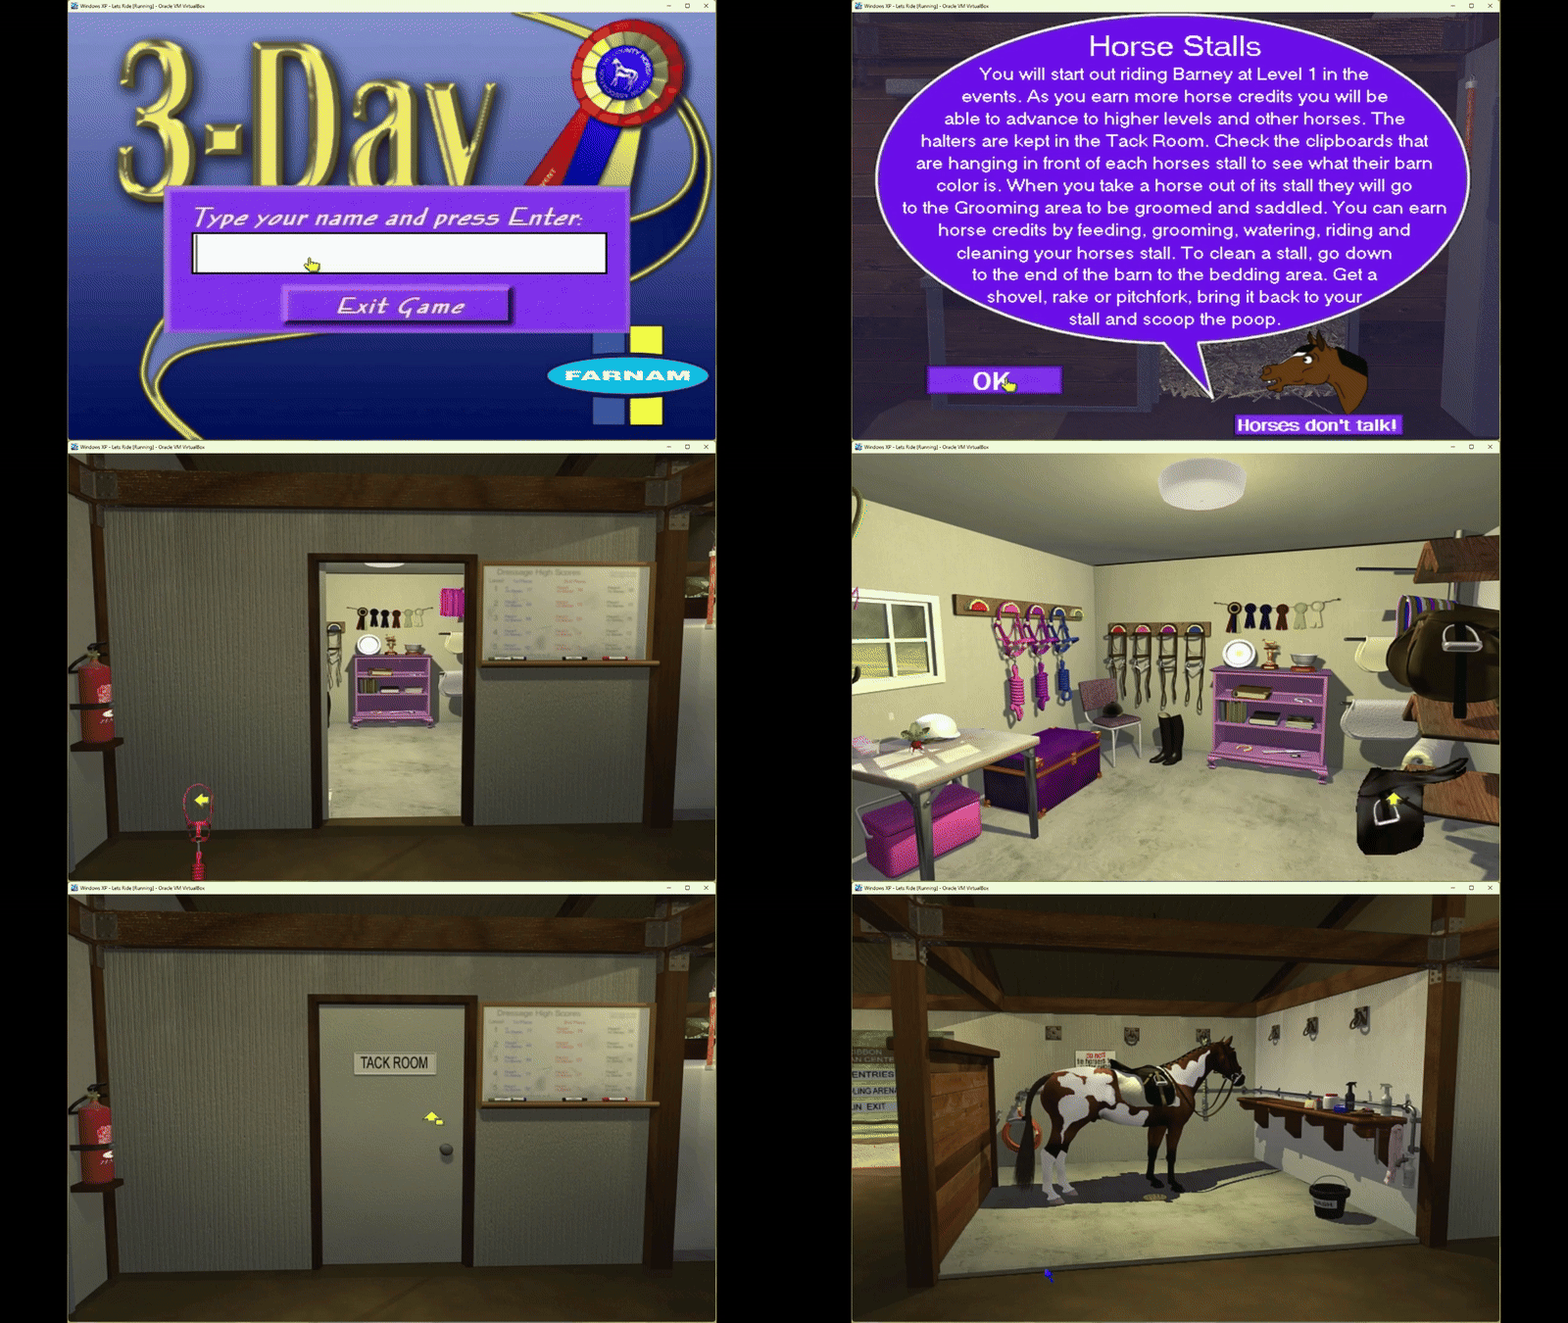
My only qualm with the game is how I don’t exactly understand the dressage scoring (why am I losing points for walking when that is the gait I need to be doing?) and how you have to take what seems like you need to jump 4 strides out than you normally would (I’ve jumped maybe 7 times in my life, so don’t take my word for it).
You can also use this guide for other games from your childhood. As long as you can find the ISO file (which should be found with a few Google searches and a Reddit thread or two), you can play whatever games you want.